For musicians at any level, the fingering chart is the roadmap that turns theory into flawless execution. By translating notes into precise hand placements, it removes guesswork, speeds practice, and builds the confidence needed for live performances. This guide walks through the practical steps that turn a static diagram into a dynamic tool for growth.
The Rise of Structured Learning
In the past decade, educational platforms have shifted from rote memorization to evidence‑based technique. The fingering chart sits at the heart of this transition, offering a visual bridge between abstract notation and the physical act of playing. Its systematic layout allows learners to see patterns, anticipate challenges, and develop muscle memory that persists under pressure.
Why Fingering Charts Matter
- Clarity: A clear map of finger assignments eliminates the risk of slippage during rapid passages.
- Efficiency: Knowing the optimal finger order saves time that would otherwise be spent troubleshooting each note.
- Adaptability: Charts can be tailored to individual hand sizes, finger strengths, and instrument variations.
Common Misconceptions
Many beginners assume that the first finger chart they encounter is the only correct one. In reality, different pedagogues may propose alternate fingerings for the same passage. Musicians should treat the chart as a guideline, not a rigid rule set, and refine it as they gain confidence and dexterity.
A Practical Path to Mastery
Transforming a chart into muscle memory requires a disciplined, step‑by‑step approach. Below is a tested process used by teachers in conservatories and private studios alike.
Step 1 – Identify Your Instrument
Each instrument has its own ergonomic quirks. Whether it’s a piano, a clarinet, or a guitar, start by mapping the specific layout of the instrument’s keys or strings. This context informs the subsequent fingering decisions.
Step 2 – Break Down the Chart
- Sectioning: Divide the chart into manageable chunks—by key signatures, arpeggio groups, or rhythmic motifs.
- Highlighting: Use color or symbols to flag tricky passages that often trigger finger fatigue.
- Labeling: Assign finger numbers next to each note, ensuring that the numbering aligns with your hand size.
Step 3 – Drill with Purpose
Repetition is essential, but it must be purposeful. Work on each chunk at a slow tempo, then gradually increase speed as accuracy improves. Record yourself to catch subtle slip‑ups and adjust the chart accordingly.
Step 4 – Integrate into Repertoire
Apply the chart to full pieces. This contextual practice highlights any gaps between isolated exercises and the demands of a complete performance. It also reinforces muscle memory by exposing you to varied musical phrases.
Step 5 – Evaluate Progress
Set a weekly checkpoint: play a chosen section at a target tempo and note any hesitation. If a finger switch feels unnatural, revisit the chart and experiment with alternative positions. A dynamic chart evolves with the player.
Tools and Resources
Digital Platforms
Software like MuseScore or Sibelius can generate printable fingering charts automatically. Many apps allow you to annotate directly on the sheet, making real‑time adjustments easy.
Sheet Music Communities
Online forums and social media groups often share user‑generated fingering charts that reflect practical experience. Engaging with these communities can expose you to unconventional yet effective fingerings that a textbook might overlook.
The Ripple Effect on Performance
Consistency and Confidence
When the hand knows where to go without hesitation, the mind can focus on expression. This shift reduces anxiety during auditions or concerts and allows the musician to channel energy into dynamics and phrasing.
Long‑Term Skill Growth
Consistent use of a fingering chart accelerates technical proficiency, freeing time that would have been spent struggling with basic passages. Over time, this leads to an expanded repertoire, more sophisticated improvisation, and a stronger overall musical identity.
Mastering the fingering chart is not a one‑time task; it’s an ongoing dialogue between the musician, the instrument, and the music itself. By treating the chart as both a guide and a living document, players can transform every practice session into a step toward lasting artistic success.
Worldgolden Para Audi A4 A6L A3 A8 Q7 Q3 Q5 8E0 972 702 8E0 972 701 20
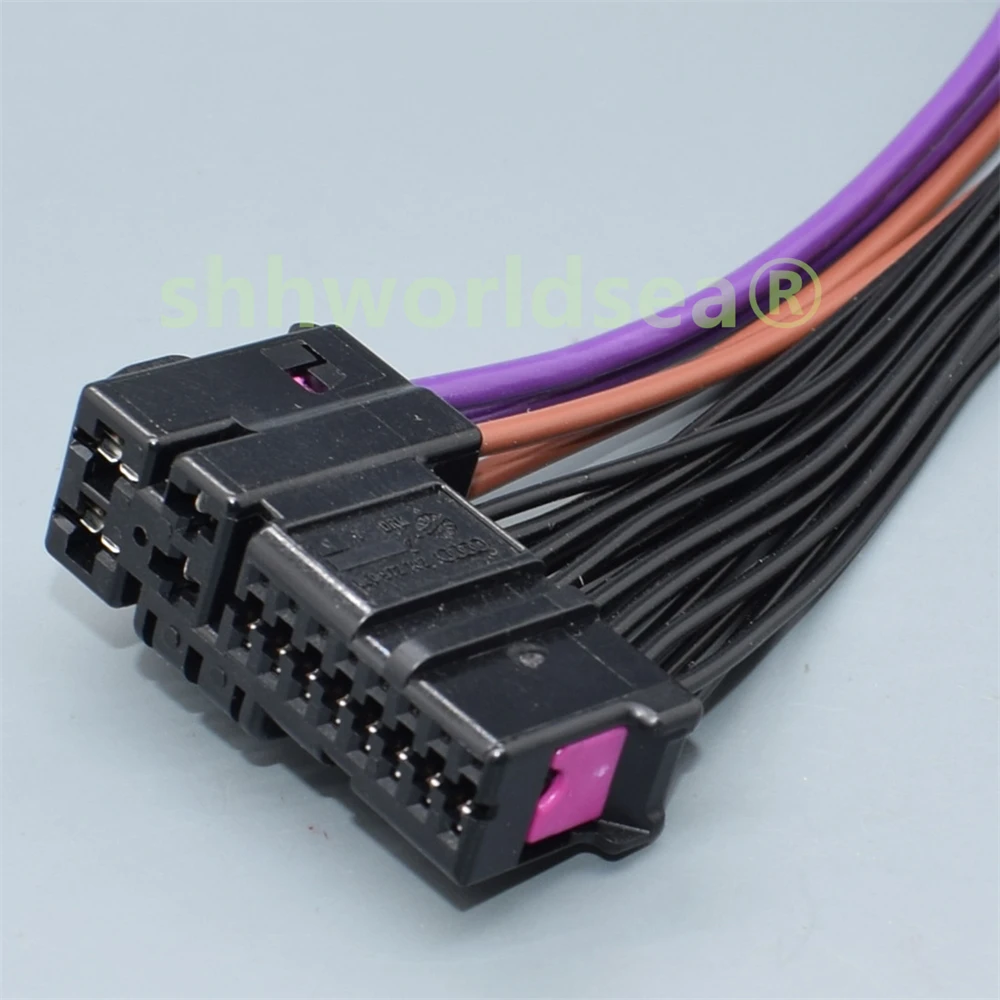
Worldgolden para Audi A4 A6L A3 A8 Q7 Q3 Q5 8E0 972 702 8E0 972 701 20 ...