When teachers add clear, student‑friendly labels to classroom microscopes, they turn a complex instrument into an approachable tool that sparks curiosity and boosts learning outcomes. By simplifying setup, reinforcing vocabulary, and encouraging independent exploration, labelled microscopes help curious beginners master the basics of observation without feeling overwhelmed.
Why label microscopes? – The benefits are concrete
Instant orientation. A well‑placed label on the eyepiece, objective lenses, and illumination controls tells students exactly where to look and what to turn, reducing trial‑and‑error time.
Reinforces scientific language. Labels that include terms like “ocular lens,” “coarse focus,” and “stage clip” double as vocabulary cards, turning every handling session into a mini‑lesson.
Promotes safety and care. When the power switch and light source are clearly marked, students are less likely to misuse the equipment, extending the lifespan of expensive classroom microscopes.
How to start labeling? – A step‑by‑step guide
1. Identify the essential parts
- Eyepiece (ocular)
- Objective lenses (low, medium, high power)
- Coarse and fine focus knobs
- Light source and power switch
- Stage and clips
2. Choose durable, readable materials
Use waterproof vinyl stickers or laminated tags that can survive frequent cleaning. A font size of at least 10 pt ensures readability from a short distance.
3. Keep the language simple
Combine the term with a brief visual cue, e.g., “Coarse focus – turn clockwise to move stage up.” This pairing supports visual learners and keeps instructions actionable.
4. Involve students in the process
Ask the class to draft label wording or draw icons. When students help create the labels, they feel ownership and are more likely to respect the equipment.
What impact does labeling have on learning? – Evidence from classrooms
Teachers who have introduced labels report a noticeable drop in setup time—often from 5‑7 minutes to under 2 minutes per session. Students also demonstrate higher confidence when handling microscopes, asking fewer “where is…?” questions and spending more time observing specimens.
Beyond speed, labelled microscopes encourage inquiry. A freshman who can locate the “Fine focus” knob quickly will experiment with depth of field, leading to richer discussions about light, magnification, and cell structure.
How to extend labeling beyond the microscope
Consider labeling related classroom items: specimen slides, sample trays, and even the lab bench. A consistent visual language turns the entire science space into a cohesive learning environment.
- Slide holders – “Slide #1: Onion epidermis”
- Reagent bottles – “Staining solution – blue dye”
- Safety signs – “Wear goggles at all times”
Next steps for teachers – Make labeling a habit
- Audit your current microscope set‑up and list unlabeled parts.
- Order a small batch of printable vinyl labels or reusable tags.
- Schedule a 20‑minute class activity to design and apply the labels.
- Observe the change in student behavior over the next two weeks and adjust wording as needed.
By treating labeling as an ongoing, collaborative process, educators transform microscopes from intimidating devices into welcoming portals to the microscopic world. The result is a classroom where curiosity leads the charge, and every student can confidently explore the unseen.
Концевая Профильная Фреза Крым-фрезы для изготовления интегрированной
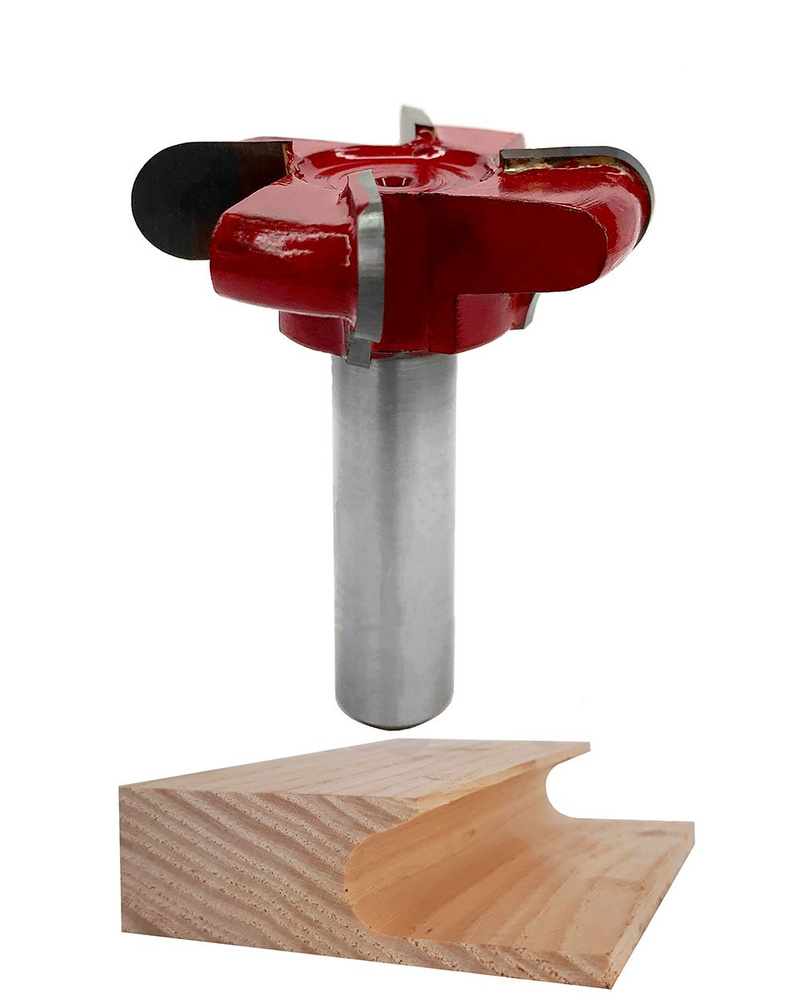
Концевая Профильная Фреза Крым-фрезы для изготовления интегрированной ...
Фреза интегрированная ручка для МДФ толщиной 16 мм и хвостовиком 12 мм.

Фреза интегрированная ручка для МДФ толщиной 16 мм и хвостовиком 12 мм.
Купить фрезы по дереву в Москве. Магазин деревообрабатывающего

Купить фрезы по дереву в Москве. Магазин деревообрабатывающего ...
Фреза под интегрированную ручку в мебель. Фрезы 2044. Фрезы под ручки

Фреза под интегрированную ручку в мебель. Фрезы 2044. Фрезы под ручки ...
Фреза“Интегрированная ручка” для МДФ 19 мм.

Фреза“Интегрированная ручка” для МДФ 19 мм.