Wood carving, once a niche craft, is now surfacing in community workshops, DIY podcasts, and weekend hobbyist groups across the United States. For newcomers, the biggest hurdle is sorting the flood of tools, woods, and techniques into a coherent plan. This guide distills the essential steps—safety basics, material selection, foundational cuts, and project pacing—into a practical roadmap that lets anyone move from a raw block to a finished figurine without costly trial and error.
Why Wood Carving Is Gaining Momentum
Recent enrollment data from makerspaces in major cities such as Portland, Austin, and Minneapolis shows a 22 % rise in beginner woodworking classes over the past year. The surge aligns with a broader “hand‑made revival” that blends mindfulness with tangible output. Unlike digital hobbies, carving offers tactile feedback: the grain’s resistance, the chip’s shape, and the scent of fresh shavings, all of which reinforce skill acquisition faster than screen‑based learning.
Toolbox Essentials: What to Buy First
Starting a carving project without a cluttered bench is possible by focusing on three core tools. Each option is weighed against cost, versatility, and learning curve.
1. Gouge vs. V‑Tool
- Gouge (¼‑inch sweep) – Ideal for removing bulk material and creating rounded hollows. Priced $15‑$25, it handles most starter projects.
- V‑tool (½‑inch) – Best for detailing edges and line work. Slightly more expensive ($20‑$30) but indispensable once basic forms are in place.
2. Knife Set
- Carving knife – A 5‑inch blade with a comfortable grip; perfect for initial shaping and trimming.
- Detail knife – Shorter, finer edge for intricate cuts; useful after the gouge has defined the silhouette.
3. Safety Gear
- Cut‑resistant gloves (optional for beginners who prefer a secure grip).
- Dust mask or respirator rated for wood particles.
- Eye protection – simple safety glasses are sufficient.
Choosing the Right Wood: Compare Common Species
The choice of wood dictates both difficulty and final appearance. Below is a quick side‑by‑side of three beginner‑friendly species.
| Wood | Grain | Workability | Typical Cost (per board‑foot) |
|---|---|---|---|
| Basswood | Fine, even | Very soft; easy to cut | $2‑$3 |
| Butternut | Medium, slightly open | Soft, holds detail well | $3‑$5 |
| Cherry | Closed, smooth | Moderately hard; good for finished pieces | $5‑$8 |
For the first project, basswood’s forgiving nature reduces the risk of accidental gouges, while cherry provides a richer finish for those ready to apply a protective oil after shaping.
Step‑by‑Step Workflow
Breaking the process into discrete phases prevents overwhelm and builds confidence.
Phase 1 – Sketch & Layout
- Draw a simple silhouette (e.g., a leaf or animal) on paper.
- Transfer the outline onto the wood using carbon paper or a light‑box.
- Mark key depth lines with a pencil; these guide tool pressure.
Phase 2 – Roughing Out
- Secure the block in a bench vise; ensure the grain runs parallel to the tool’s cutting edge.
- Use the gouge to remove excess wood, staying ⅓ of the intended depth.
- Check progress frequently against the sketch; adjust angles as needed.
Phase 3 – Refining & Detailing
- Switch to the V‑tool for clean edges and crisp lines.
- Introduce the detail knife for texture—fur, bark, or feather marks.
- Sand lightly with 120‑grit sandpaper to smooth rough spots without erasing fine cuts.
Phase 4 – Finishing Touches
- Wipe the piece with a tack cloth to remove dust.
- Apply a thin coat of boiled linseed oil or a water‑based polyurethane for protection.
- Allow 24 hours to cure; the piece is now ready for display or gifting.
Practical Takeaways for the First Month
- Invest in a quality gouge and carving knife before expanding your toolset.
- Start with basswood; its softness lets you focus on technique rather than tool control.
- Allocate 30‑minute “carve‑sessions” three times a week; consistent practice beats marathon sessions.
- Document each step with photos; visual logs reveal patterns in pressure and angle that speed improvement.
What Comes Next? Scaling Up
After mastering a simple silhouette, consider branching into relief carving on a wooden plaque or introducing a rotary tool for deeper undercuts. Many hobbyists transition to reclaimed wood, which adds character but requires awareness of hidden nails and variable grain. Joining a local carving club or an online forum can provide feedback, tool swaps, and project ideas that keep the learning curve gentle yet engaging.
Wood carving for beginners is less about owning every specialized instrument and more about establishing a disciplined workflow. By following this step‑by‑step guide, newcomers can turn a raw block into a polished piece within weeks, gaining both skill and a satisfying tactile outlet.
Glute Bridge Exercise Illustration Colorful Concept Stock Vector

Glute Bridge Exercise Illustration Colorful Concept Stock Vector ...
The Bridge Exercise

The Bridge Exercise
The Best Bodyweight Exercises To Level Up Your Fitness - The Manual

The best bodyweight exercises to level up your fitness - The Manual
Vector Man Doing Glute Bridge. Hip Raises. Bodyweight Fitness Legs

Vector Man Doing Glute Bridge. Hip Raises. Bodyweight Fitness Legs ...
Weighted Glute Bridge Illustrated Exercise Guide
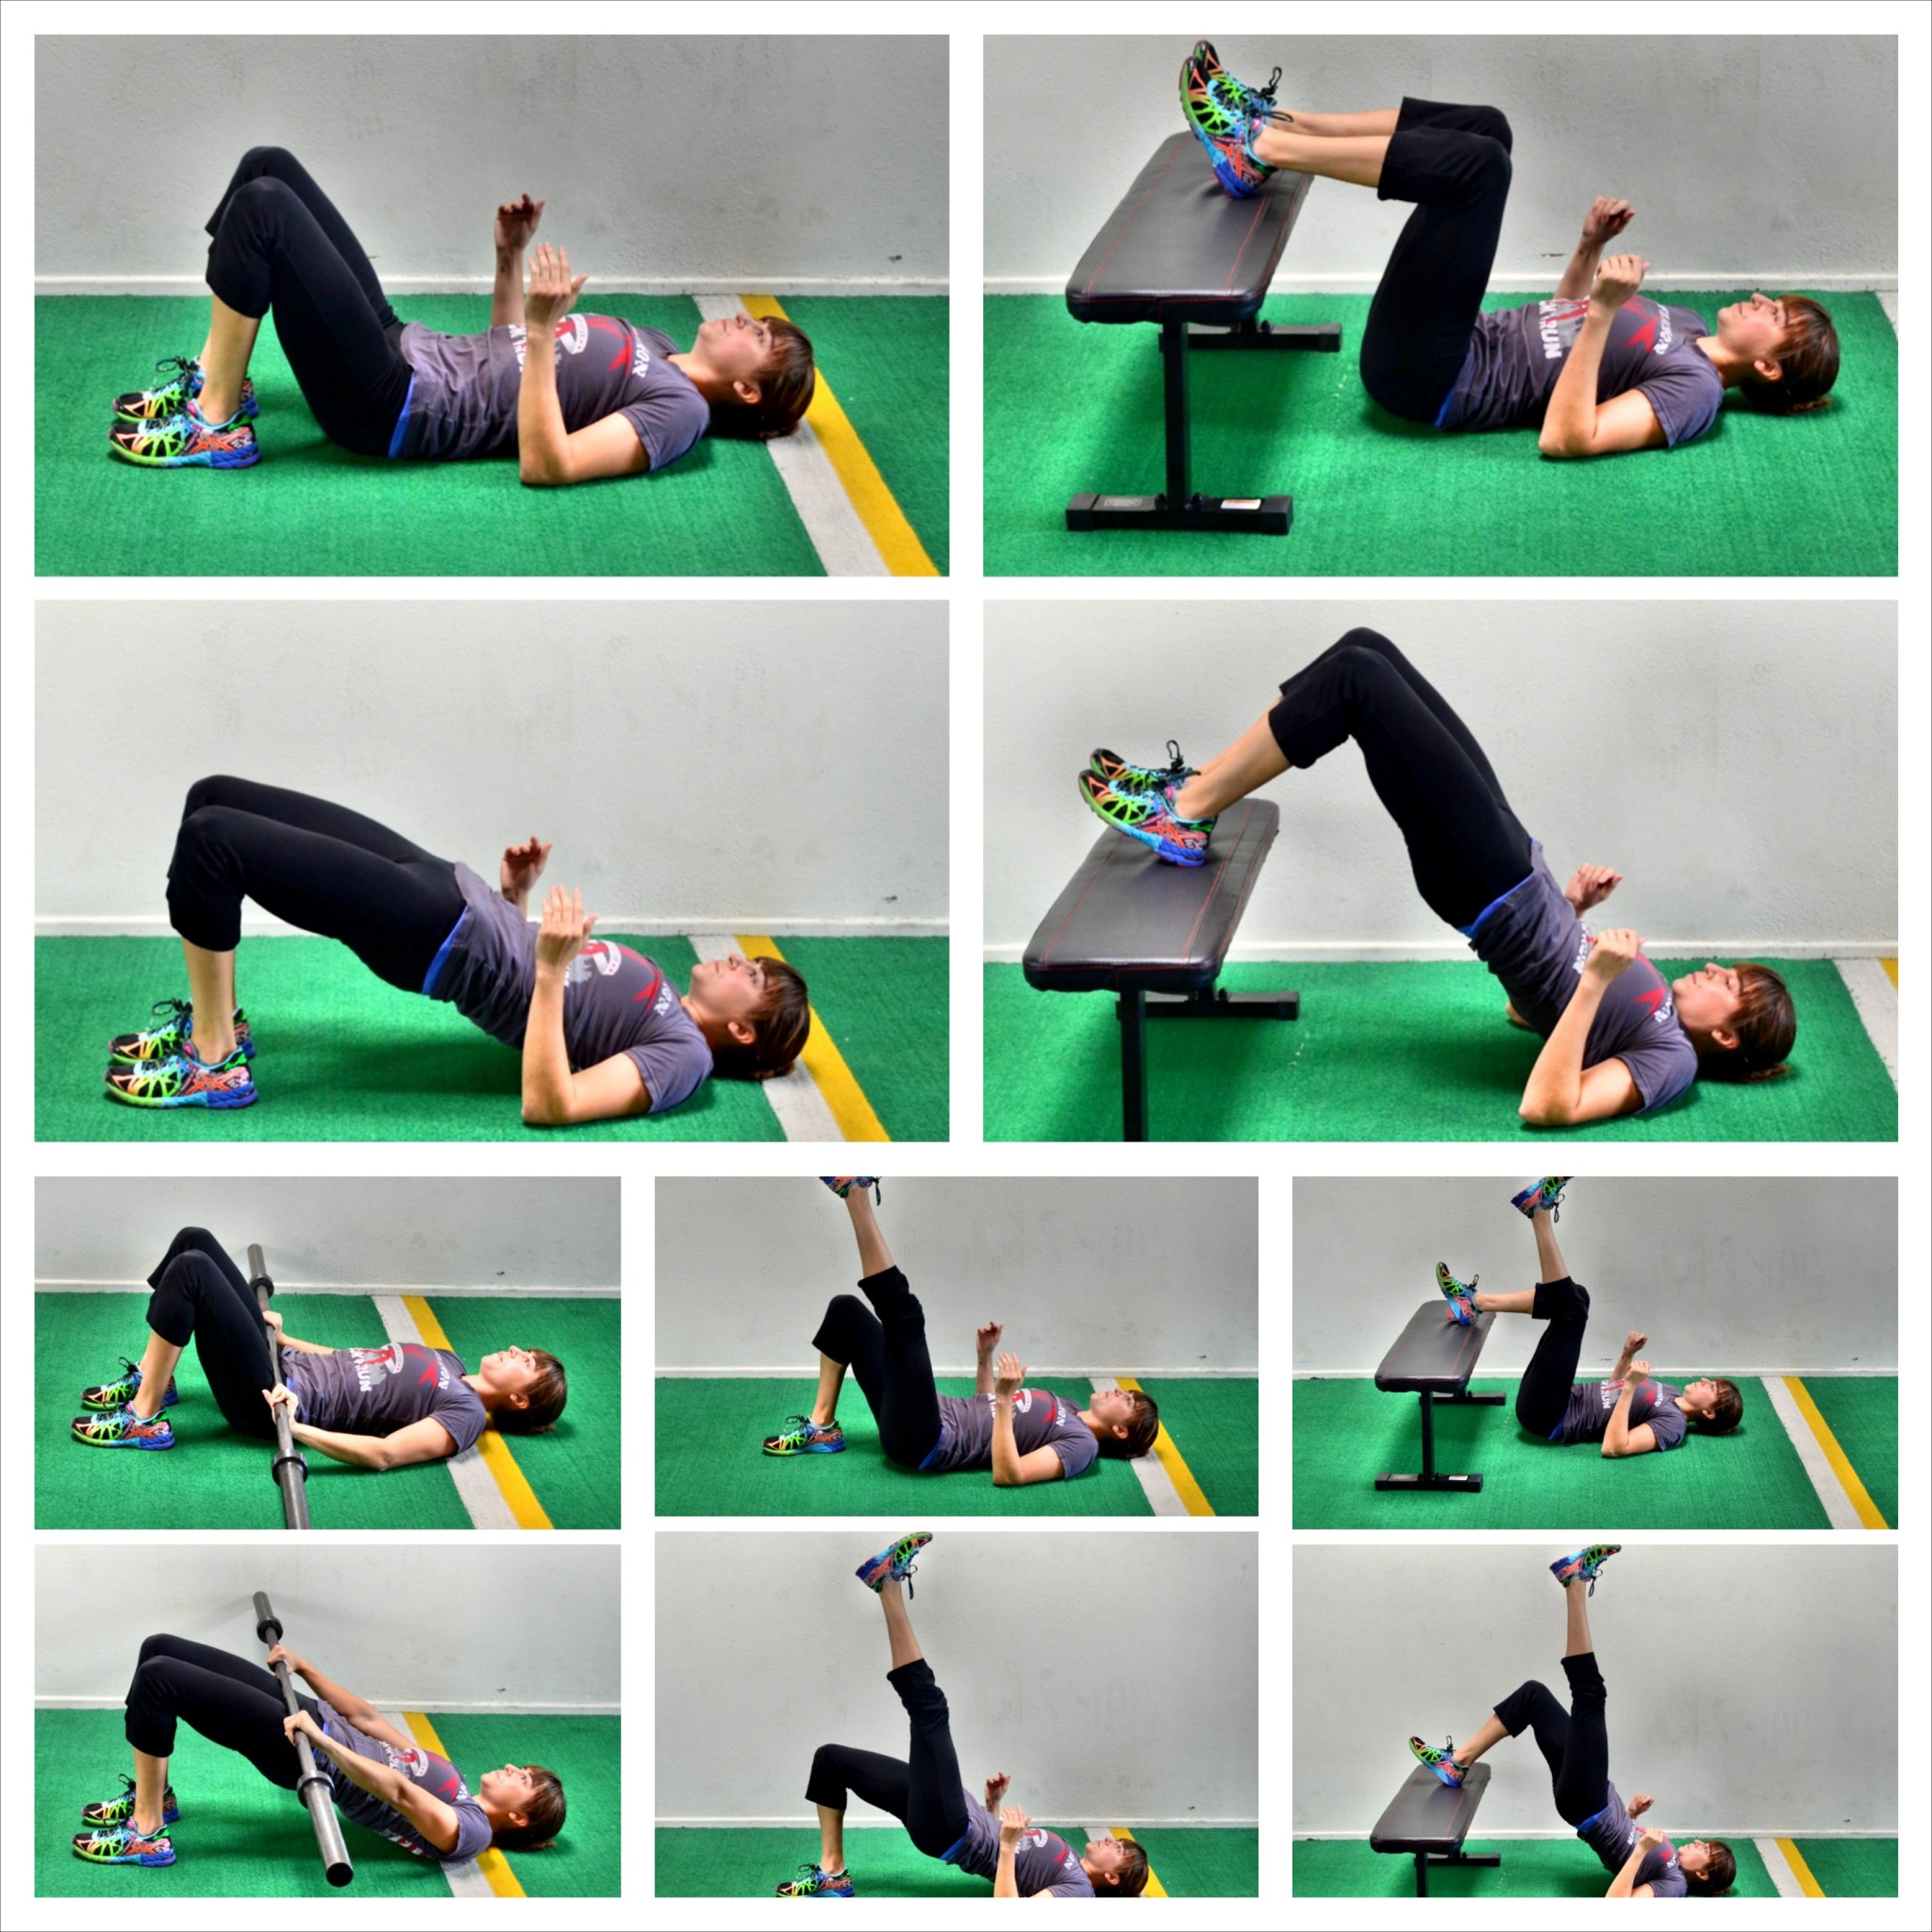
Weighted Glute Bridge Illustrated Exercise Guide