When Halloween looms, the pressure to turn a bland pumpkin into a show‑stopping masterpiece can feel overwhelming, especially for hobbyists who lack a clear roadmap. Oogie Boogie’s new template collection promises to bridge that gap, offering step‑by‑step guides that let anyone move from shaky cuts to crisp, professional‑grade designs in just a few evenings.
Why DIY Pumpkin Carving Often Stalls
Most casual carvers start with a vague idea, a sketch on a napkin, or a quick Google image search. The result? Uneven lines, broken tips, and a final product that looks more “attempted” than “accomplished.” The root of the problem is twofold: lack of consistent reference points and insufficient practice with proper tools. Without a template, the carving knife becomes a guessing instrument rather than a precision tool.
How Oogie Boogie Templates Turn Guesswork Into Precision
Each template in the Oogie Boogie line is a printable stencil that aligns with common pumpkin dimensions (roughly 10‑12 inches in diameter). The designs are vector‑based, so users can scale them up or down without losing detail. By placing the stencil on the pumpkin’s surface and tracing the outlines, carvers gain a reliable guide that eliminates the “where does the eye go?” dilemma.

Step‑by‑Step: From Template to Trophy
1. Choose the right difficulty level
Oogie Boogie offers three tiers: Beginner (simple silhouettes), Intermediate (layered shading), and Pro (intricate, multi‑panel designs). A first‑timer should start with a beginner pattern like a classic jack‑o‑lantern grin, then graduate to a Pro‑level “Oogie” face once confidence builds.
2. Prep the pumpkin for optimal carving
- Scrub the surface with a damp cloth to remove dirt.
- Cut a wide opening at the top, preserving about an inch of rim to hold the lid.
- Use a large spoon or a pumpkin scoop to scrape out seeds and strings, creating a smooth canvas.
3. Transfer and secure the stencil
Print the template on standard A4 paper, tape it gently to the pumpkin, and trace the lines with a washable marker. For deeper designs, attach a second layer of tracing paper to reinforce the outline.
4. Carve with the right tools
Invest in a small, serrated pumpkin knife for fine details, and a larger, straight‑edge saw for broad cuts. Keeping the blade angled slightly away from the pumpkin’s flesh reduces chipping.
5. Light it up and evaluate
Place an LED candle inside, rotate the pumpkin, and note any shadows that obscure key features. Minor tweaks—like shaving a stray edge—can dramatically improve readability.
Beyond the Template: Adding Professional Polish
Even with a perfect stencil, seasoned carvers add depth by shaving layers of pumpkin flesh to create a gradient effect. The “Pro” templates anticipate this technique, providing multiple concentric outlines that guide the artist in removing successive layers. A quick tip from the Oogie Boogie community: after the first shave, dip the exposed surface in a light spray of diluted dish soap; the film reduces glare and lets the candlelight shine through more evenly.
What the Community Is Saying
Early adopters on carving forums report a 40 % reduction in carving time and a noticeable boost in confidence. One user noted that the template’s “grid system” helped her keep symmetrical eyes on a twin‑pumpkin display, something she previously struggled with.
Implications for Seasonal Creativity
By lowering the technical barrier, Oogie Boogie’s templates could democratize high‑quality pumpkin art, making it feasible for schools, community centers, and small businesses to host competitive carving events without hiring professional artists. The ripple effect may also inspire related DIY trends—think pumpkin‑themed candle holders, reusable stencil kits, and even virtual carving workshops.
Getting Started This Halloween
Templates are available for immediate download on Oogie Boogie’s website, with a free beginner design to test the workflow. Carvers who purchase a full set receive a digital “tool checklist” that matches each design to recommended knives, ensuring a seamless start. With a few printed pages, a pumpkin, and a little practice, the leap from novice to pro‑level carving is just a night away.
7 Free Online Courses To Learn Skills That Pay $100,000+

7 Free Online Courses To Learn Skills That Pay $100,000+
Royalty Free Portuguese Stock Photos | Rawpixel

Royalty Free Portuguese Stock Photos | rawpixel
Learn Unlearn Relearn | "The Illiterate Of The 21st Century … | Flickr
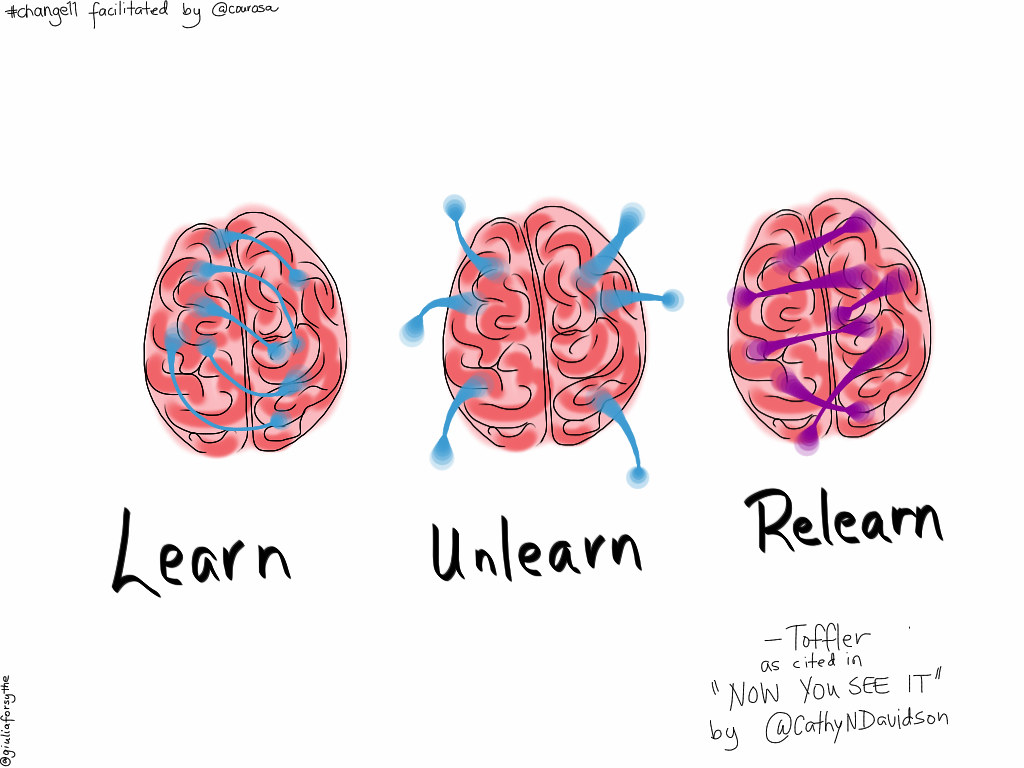
Learn Unlearn Relearn | "The illiterate of the 21st century … | Flickr
17 Best Online Learning Platforms In 2026 | LearnWorlds

17 Best Online Learning Platforms in 2026 | LearnWorlds