Creating Bible‑themed clip art has become a rewarding niche for hobbyists who want to blend reverence with design flair. By starting with a simple sketch and progressing to a vector‑ready illustration, you can produce assets that look professional without hiring a studio. The process demands patience, the right software mix, and a clear sense of when a “good enough” draft turns into a polished masterpiece.
Why the “from scratch” mindset still matters
Even in an era of ready‑made icon packs, building clip art from the ground up lets you control symbolism, color palette, and cultural nuance. A hand‑drawn cross or a stylized olive branch can be tailored to a specific sermon series or worship slide, avoiding the generic feel of stock libraries. Moreover, the tactile act of sketching forces you to think through composition before the pixels lock in, which often leads to cleaner, more meaningful graphics.
Tools, techniques, and workflow steps
A typical pipeline for a hobbyist looks like this:
- Concept sketch. Grab a graphite pencil or a tablet‑style sketch app. Focus on silhouette and narrative—think about the story the image will tell.
- Vector tracing. Import the scan into a vector editor (Adobe Illustrator, Inkscape, or Affinity Designer). Use the Pen tool to outline key shapes, keeping anchor points to a minimum for scalability.
- Color study. Apply a limited palette (often three to five colors) that respects biblical symbolism—e.g., gold for divinity, purple for royalty.
- Detail refinement. Add subtle line‑work, gradients, or texture overlays. Remember that excessive detail can hinder legibility at small sizes.
- Export & test. Save as SVG for scalability and PNG for quick insertion into presentations. Test the asset at 32 px, 64 px, and 128 px to ensure clarity.
When the workflow feels repetitive, consider using reusable symbol libraries—like a custom “cross” component—to speed up later projects.
Pros, trade‑offs, and realistic expectations
- Pros. Full creative control, ownership of the final file, and the ability to match any branding guideline. The learning curve also sharpens broader illustration skills.
- Trade‑offs. Time investment can be steep; a single 256 px icon may take 1–2 hours from idea to final export. Software costs (or the effort to master free alternatives) add another layer of commitment.
- Realistic expectations. Even seasoned hobbyists rarely achieve “studio‑level” polish on every piece. Aim for consistency across a series rather than perfection on a single image. If an illustration looks good at 64 px, it will likely serve most slide‑deck needs.
Bottom‑line recommendation for hobbyists
If you enjoy the meditative act of drawing and have a modest budget for software, building Bible clip art from scratch is a worthwhile pursuit. Start with a single, simple symbol—like a dove or an open book—and follow the outlined workflow. As you accumulate a personal library, the time per new asset will shrink dramatically, letting you focus on creative variation rather than technical repetition. In short, invest in the basics, keep your palette restrained, and let each iteration teach you where to streamline next.
Scratch Screen Dimensions At Hugo Bergin Blog

Scratch Screen Dimensions at Hugo Bergin blog
Sơ đồ: Programming - Introduction To Scratch | Quizlet

Sơ đồ: Programming - Introduction to Scratch | Quizlet
Scratch 3.0 Is Here! - Discuss Scratch
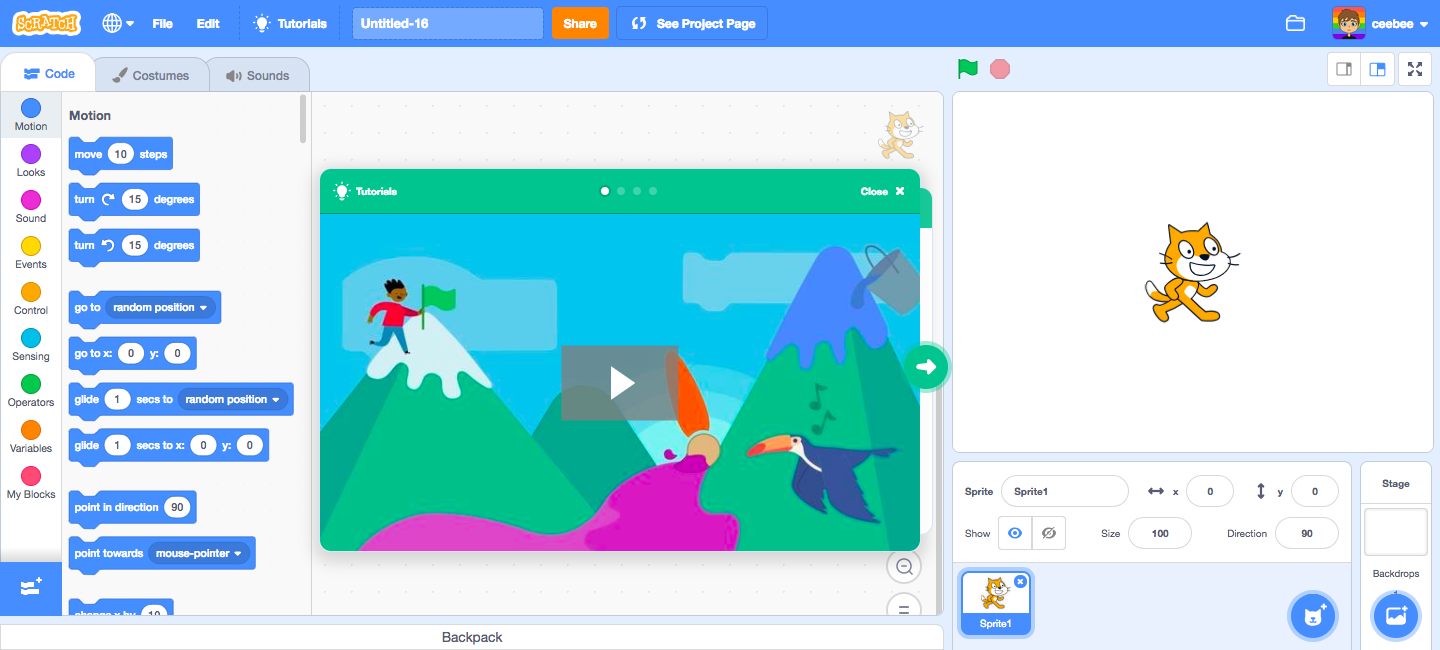
Scratch 3.0 is here! - Discuss Scratch